Browsing limits with passcode bypass allow you to control guest internet usage while giving staff the flexibility to extend access when needed. This setup is ideal for cafés, restaurants, and similar venues, encouraging natural session turnover, repeat purchases, and better network control without disrupting the guest experience.
Configure Browsing Limits at the Venue Level
Open Venue Settings
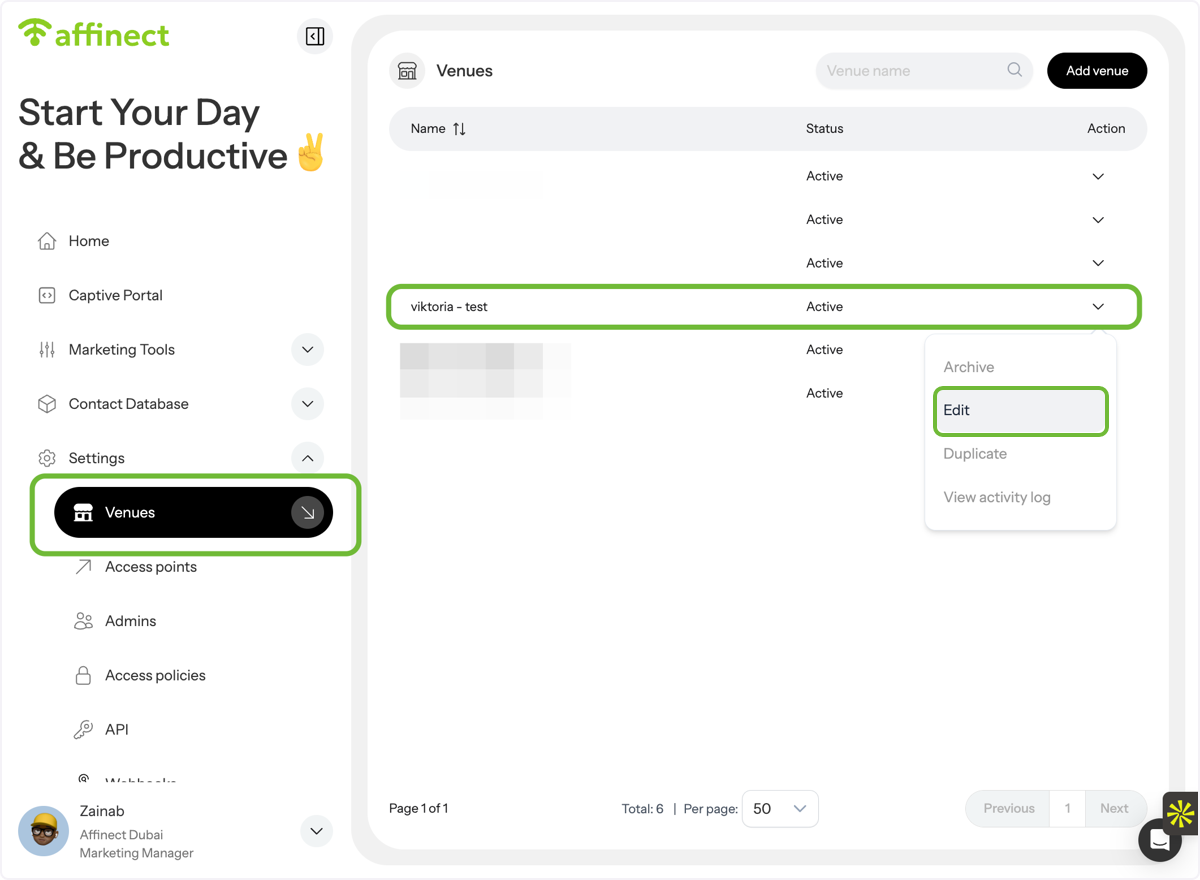
Go to Settings → Venues, select the venue you want, and click Edit under Actions.
Access AP Settings
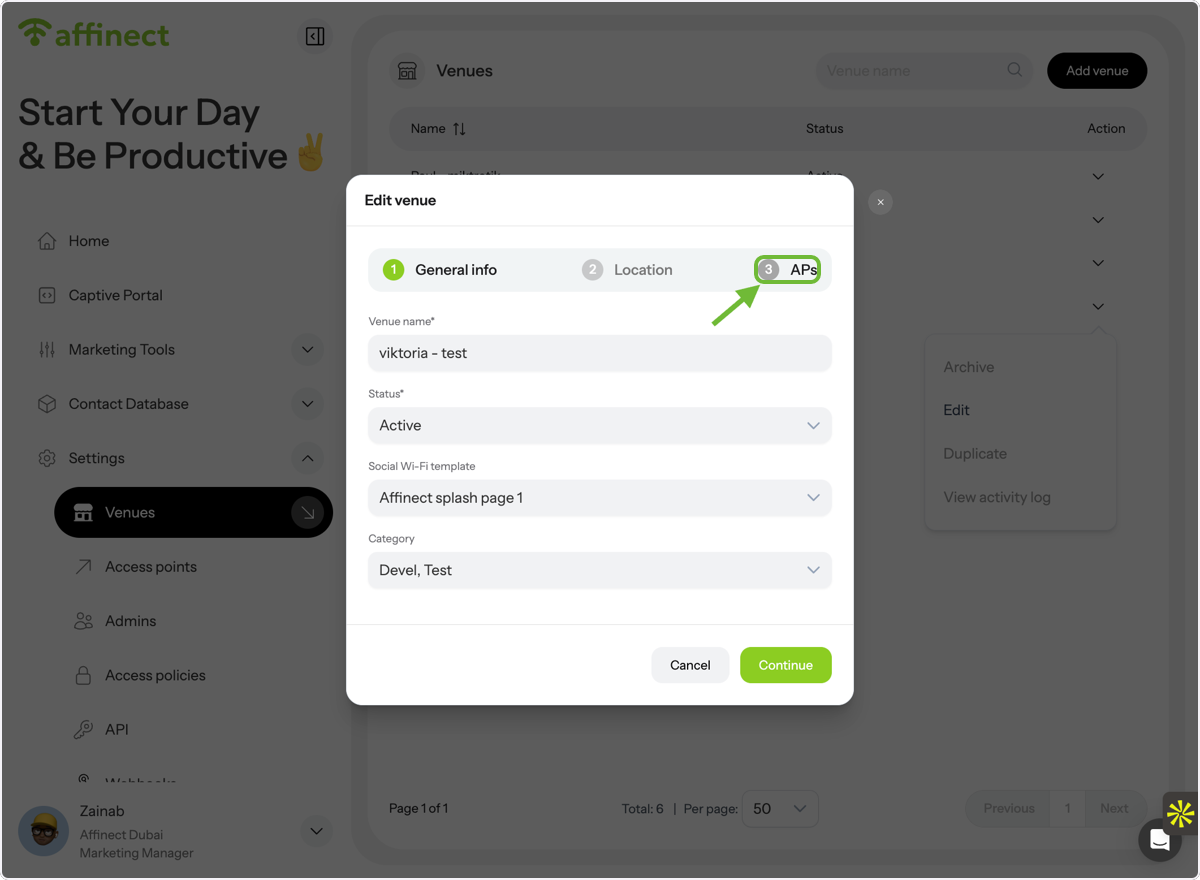
In the Edit Venue window, click on APs.
Enable Daily Browsing Limit
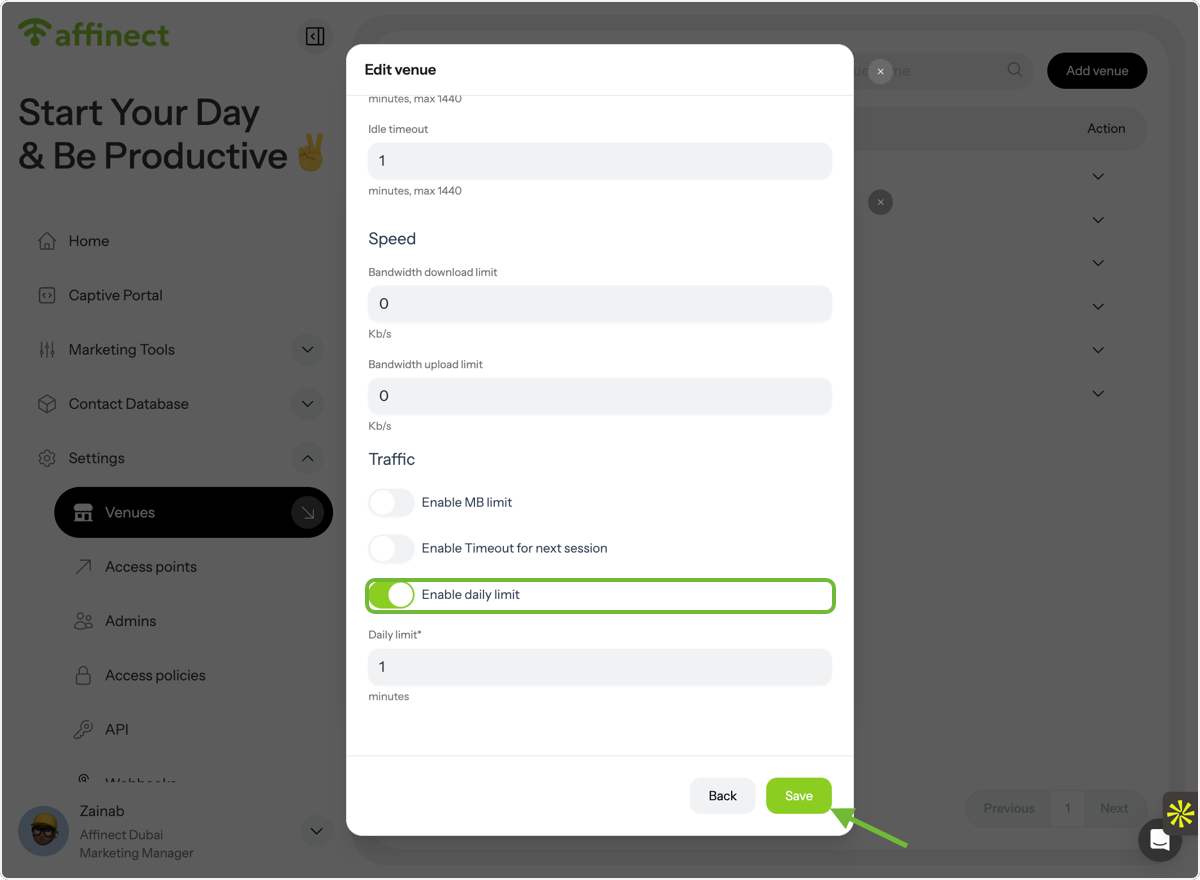
Toggle Enable Daily Limit, set the allowed browsing time, and click Save Changes.
Once this limit is reached, guests will need a passcode to continue browsing.
Note: If no bypass is configured, guests will see a _"time limit reached"_ message with no option to continue.
Create and Manage Passcode Bypass
Create or Edit an Access Policy
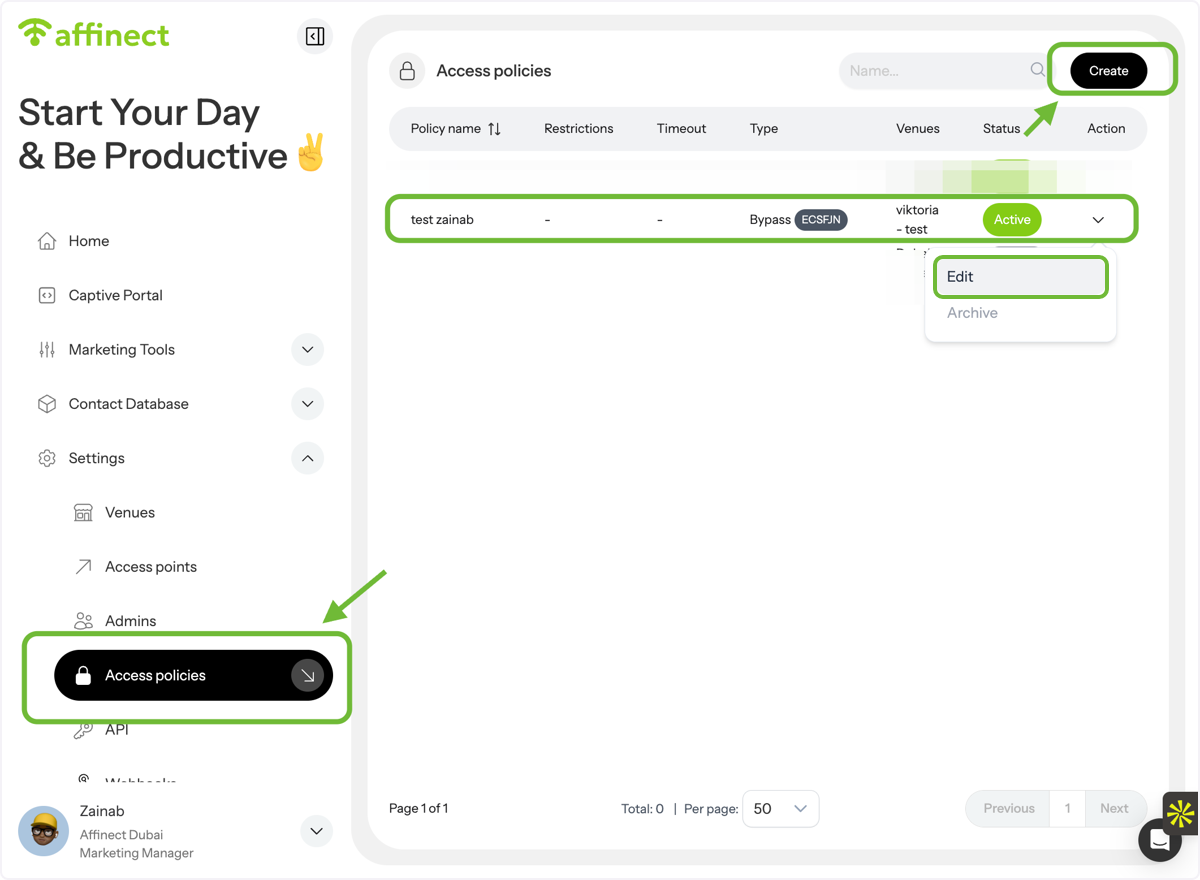
Go to Settings → Access Policies and click Create to set up a new bypass.
If one already exists, click Edit under Actions.
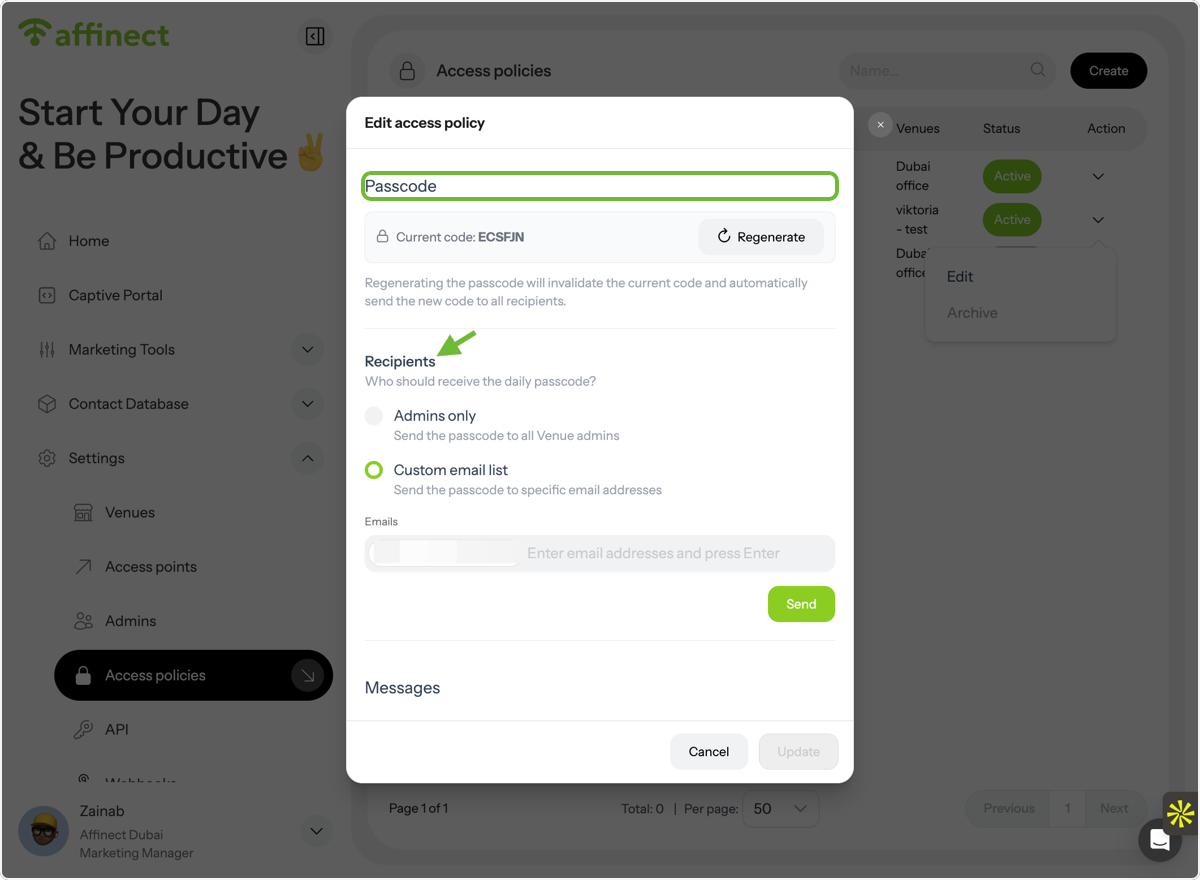
Review Passcode and Recipients
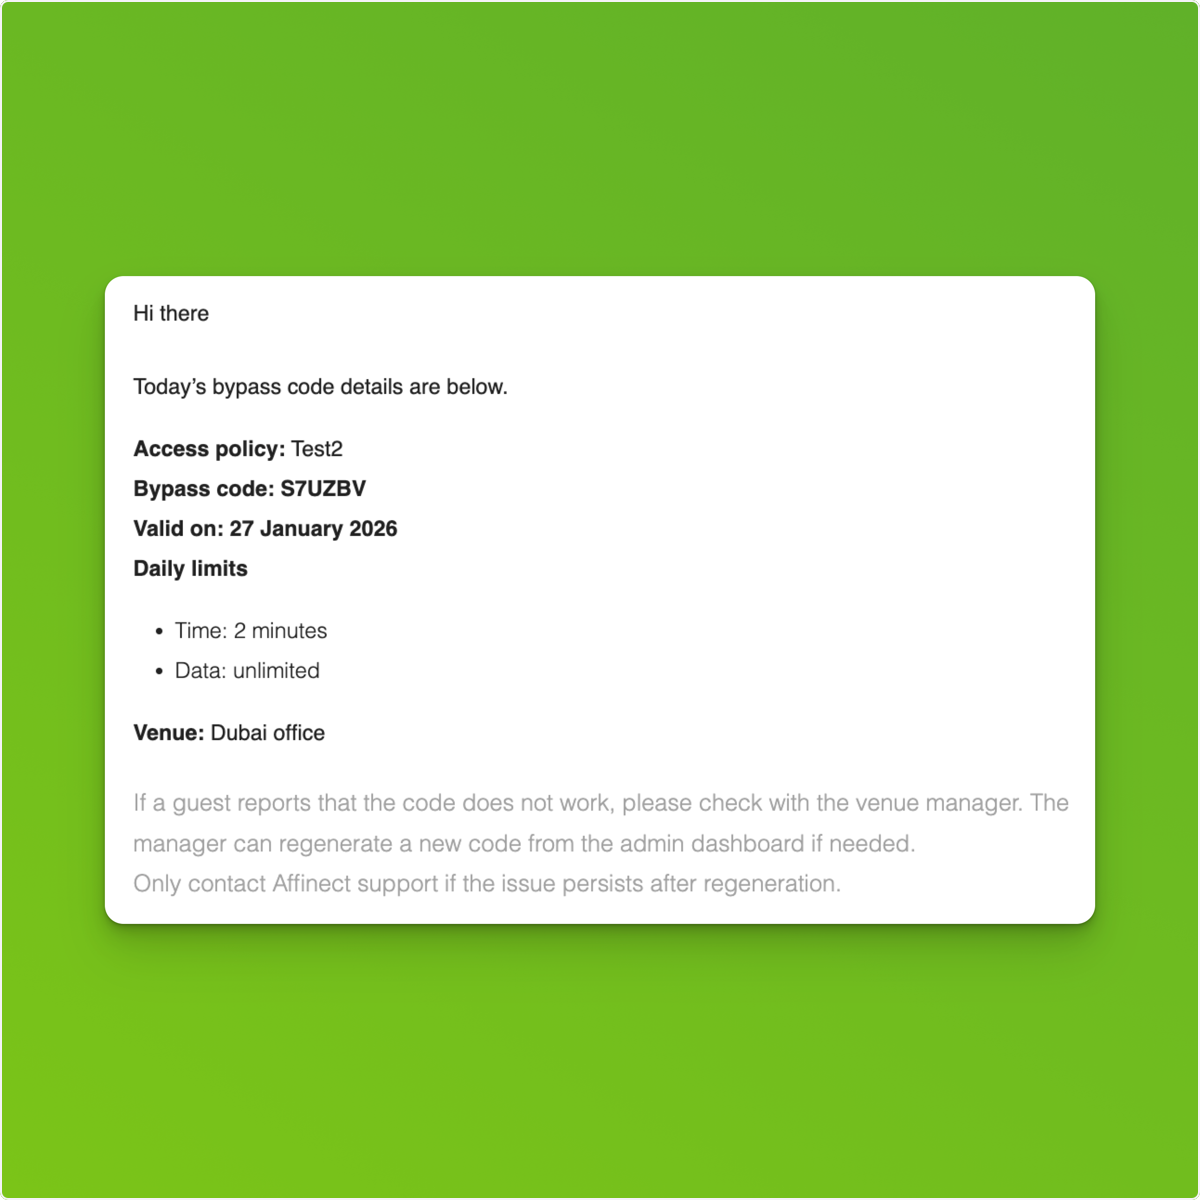
In the Access Policy settings, view the passcode and choose which contacts (e.g., admins or staff) should receive it.
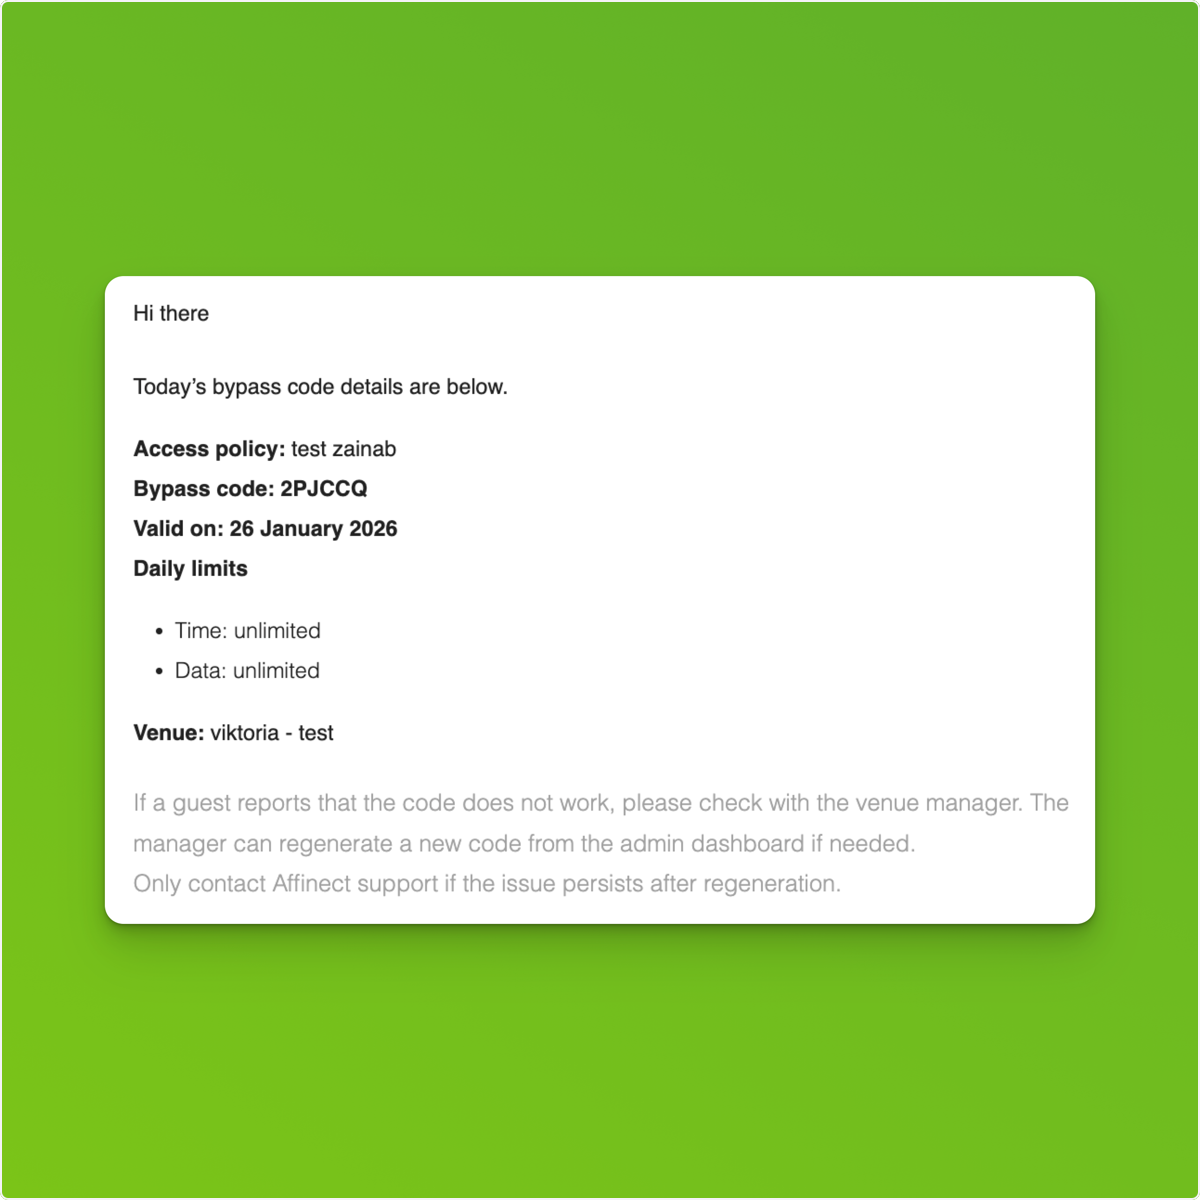
Receive Passcode via Email
Selected recipients will receive the bypass passcode automatically in their inbox.
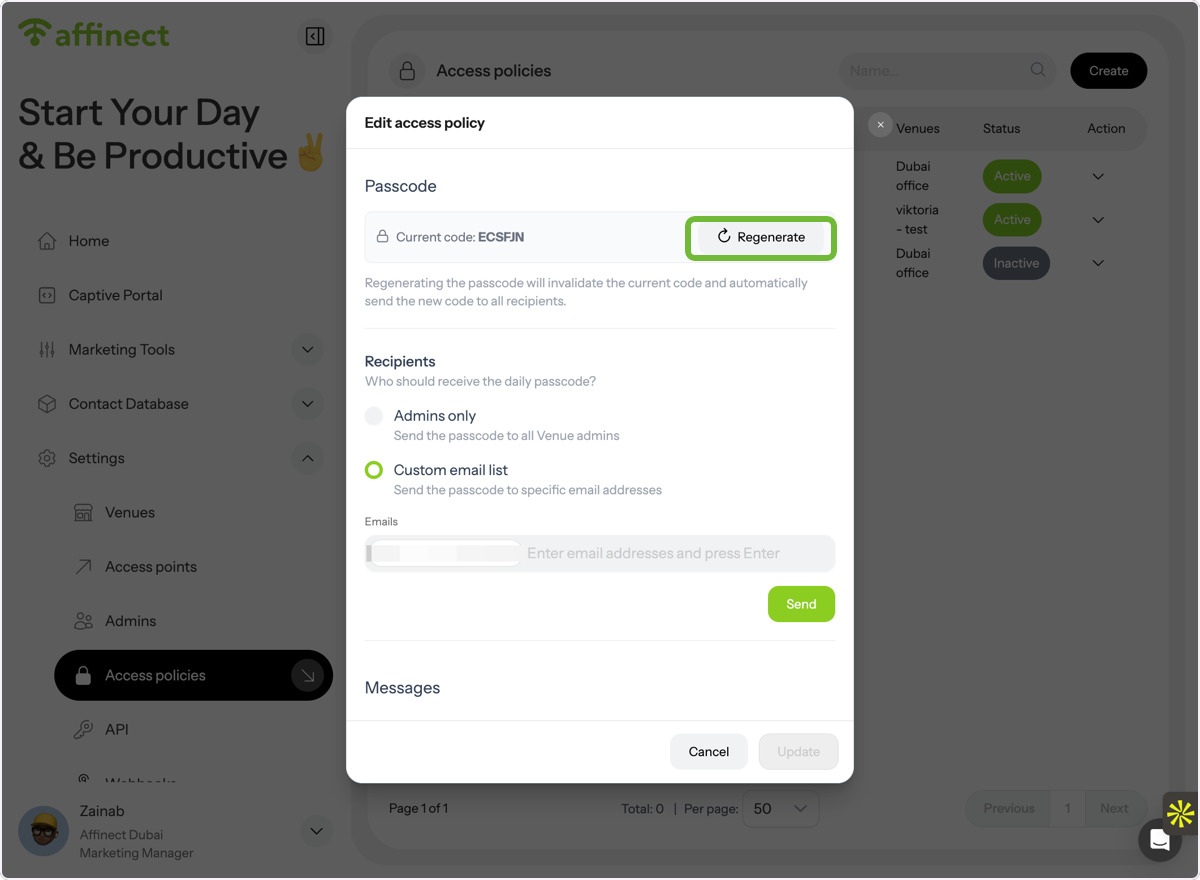
Regenerate Passcode \(Optional\)
You can regenerate the passcode at any time if needed.
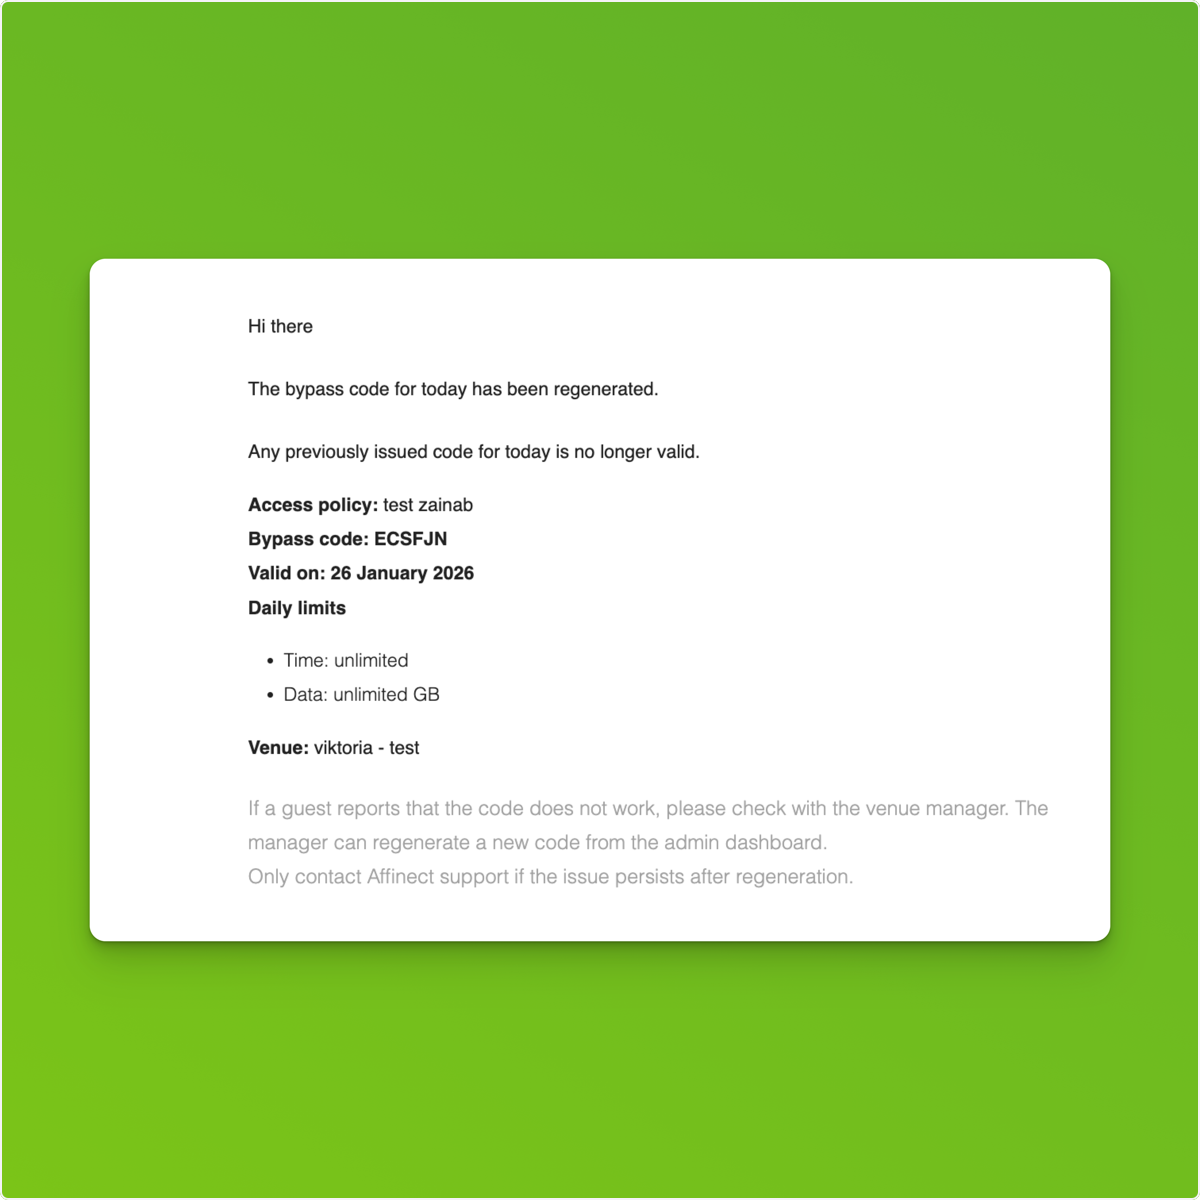
Receive Updated Passcode Notifications
After regeneration, recipients will receive a new email with the updated passcode.
Daily Passcode Updates
Passcodes refresh daily, and selected admins receive daily email updates automatically, no manual sharing required.
Enable Passcode Access on the Captive Portal
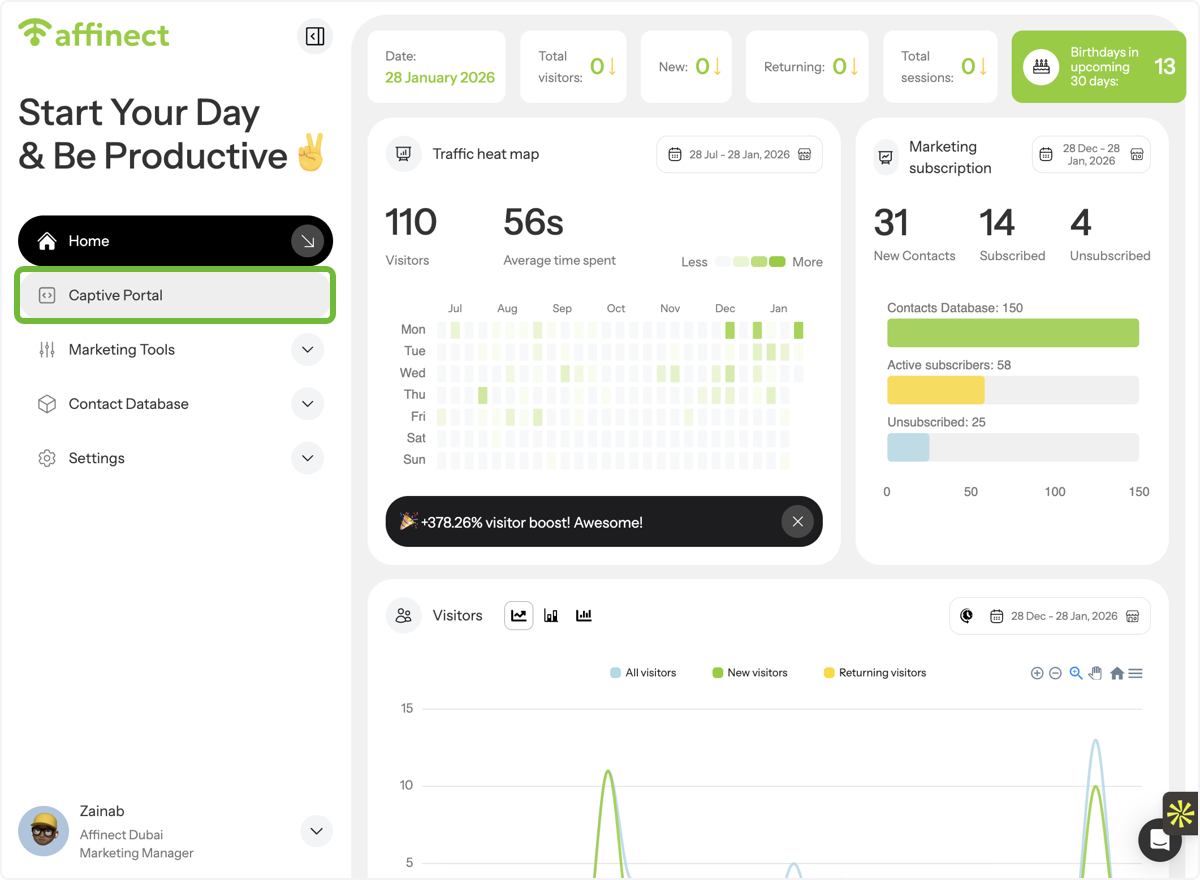
Open Captive Portal Settings
Go to Captive Portal from the main menu.
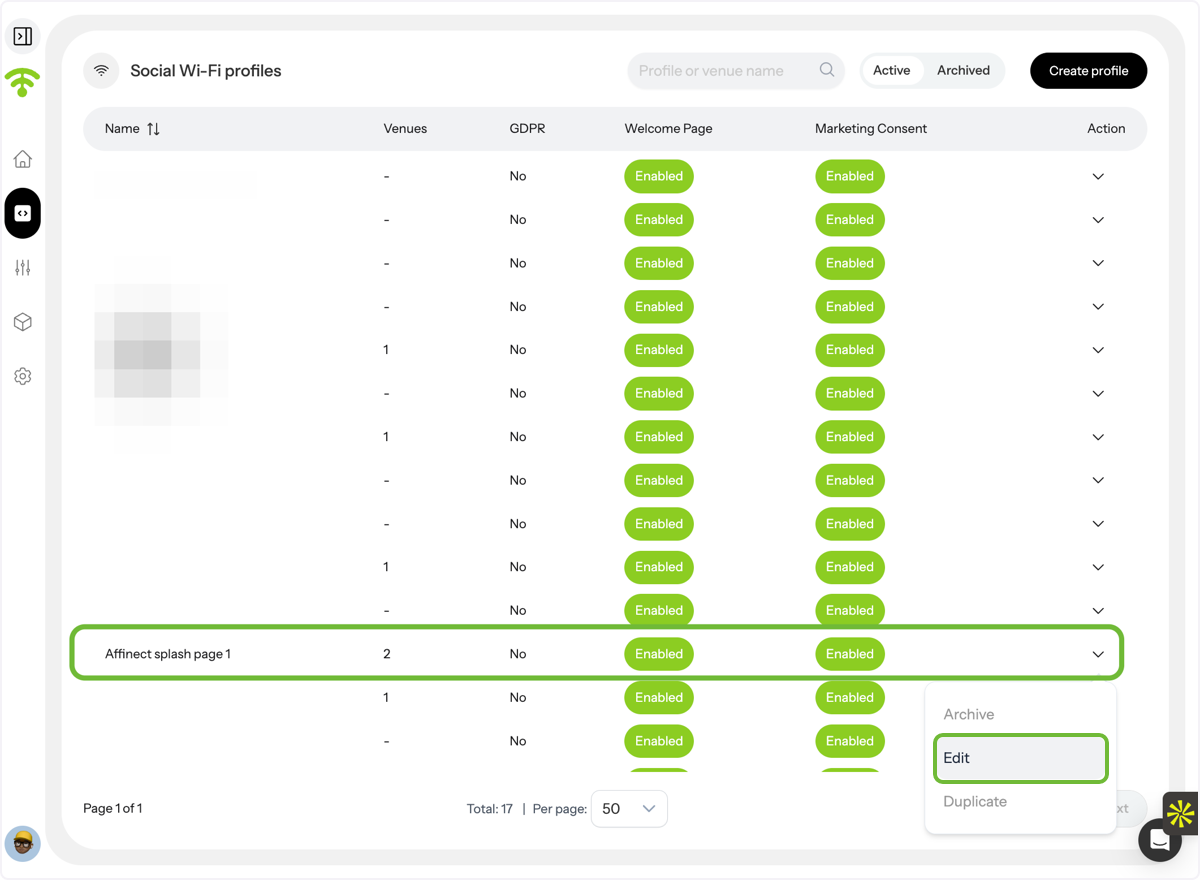
Select a Social Wi-Fi Profile
Choose the Social Wi-Fi profile where you want to enable passcode access.
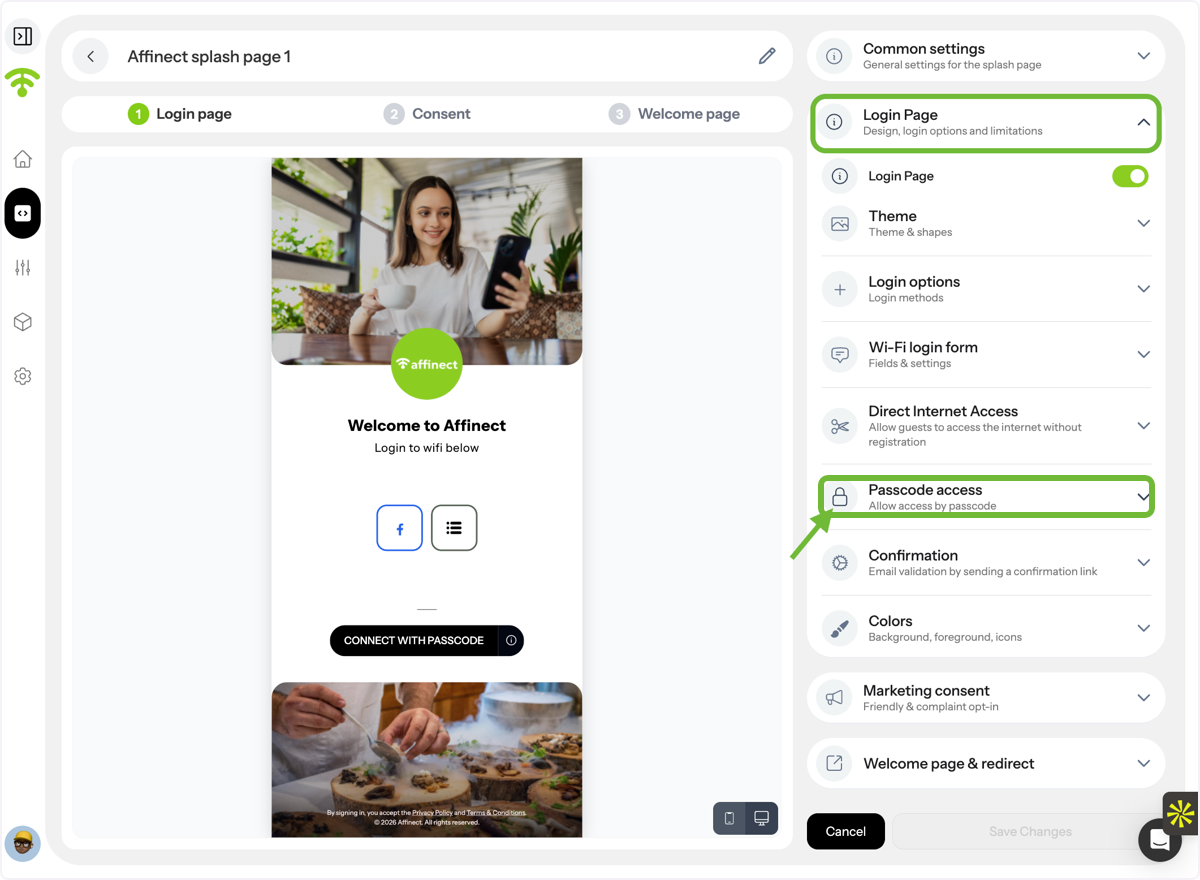
Enable Passcode Login Option
Under Login Page Settings, enable Passcode Access.
Guest Experience with Passcode
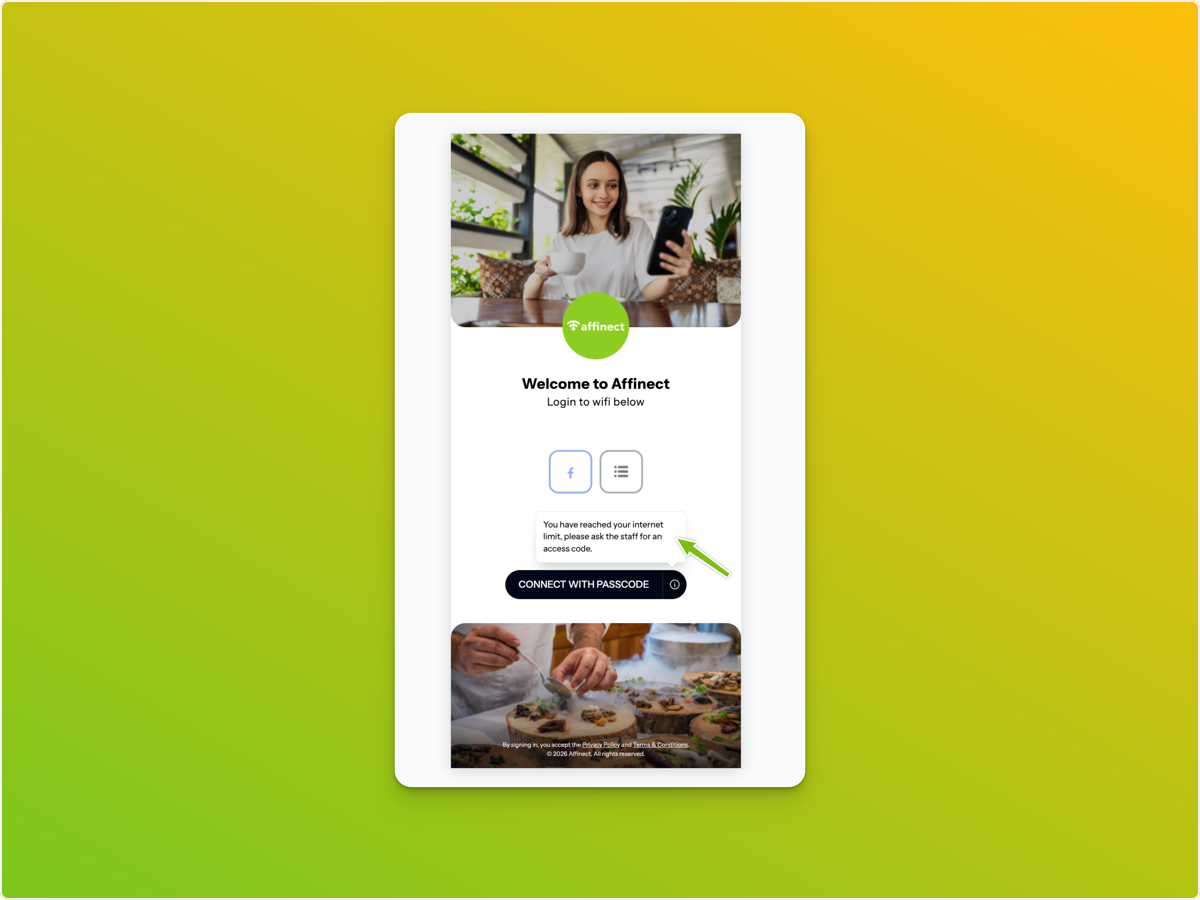
After the daily time limit ends, guests will see a Connect with Passcode option. Guests will be prompted to ask staff for the passcode to continue browsing. Tada! That’s it, you’re all set!
Important Setup Rules to Follow
Technical Requirement
Make sure the email verification duration is shorter than the bypass duration, and the bypass duration is always longer than the email verification. This ensures guests can verify their email smoothly _before_ needing a passcode, while still allowing extended access when appropriate.
Also, Passcode bypass requires APs managed via RADIUS
- If your venue’s hardware is not RADIUS-managed, the bypass setup will not be available
_(In simple terms: the network must be centrally controlled for passcodes to work.)_